
A tipi of the Oglala Lakota, 1891.

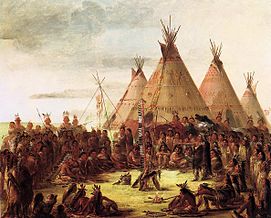
Sioux tipi (watercolor by Karl Bodmer c.1833)
A tipi (also te(e)pee) is a conical tent traditionally made of animal skins or birch bark and popularised by Native Americans of the Great Plains. Tipis are stereotypically associated with Native Americans in general but Native Americans from places other than the Great Plains mostly used different types of dwellings. The term "wigwam" (a domed structure) is sometimes incorrectly used to refer to a tipi.
The tipi was durable, provided warmth and comfort in winter, was dry during heavy rains, and was cool in the heat of summer. Tipis could be disassembled and packed away quickly when a tribe decided to move and could be reconstructed quickly when the tribe settled in a new area. This portability was important to Plains Indians with their nomadic lifestyle.
Modern tipi covers are usually made of canvas. Contemporary users of tipis include historical reenactors, back-to-the-land devotees, and Native American families attending powwows or encampments who wish to preserve and pass on a part of their heritage and tradition.
The word "tipi" comes into English from the Lakota language; the word tʰípi consists of two elements: the verb tʰí, meaning "to dwell", and a pluralising enclitic (a suffix-like ending that marks the subject of the verb as plural), pi, and means "they dwell". Lakota verbs can be used as nouns and this is the case with tʰípi, which in practice just means "house".
Structure[]
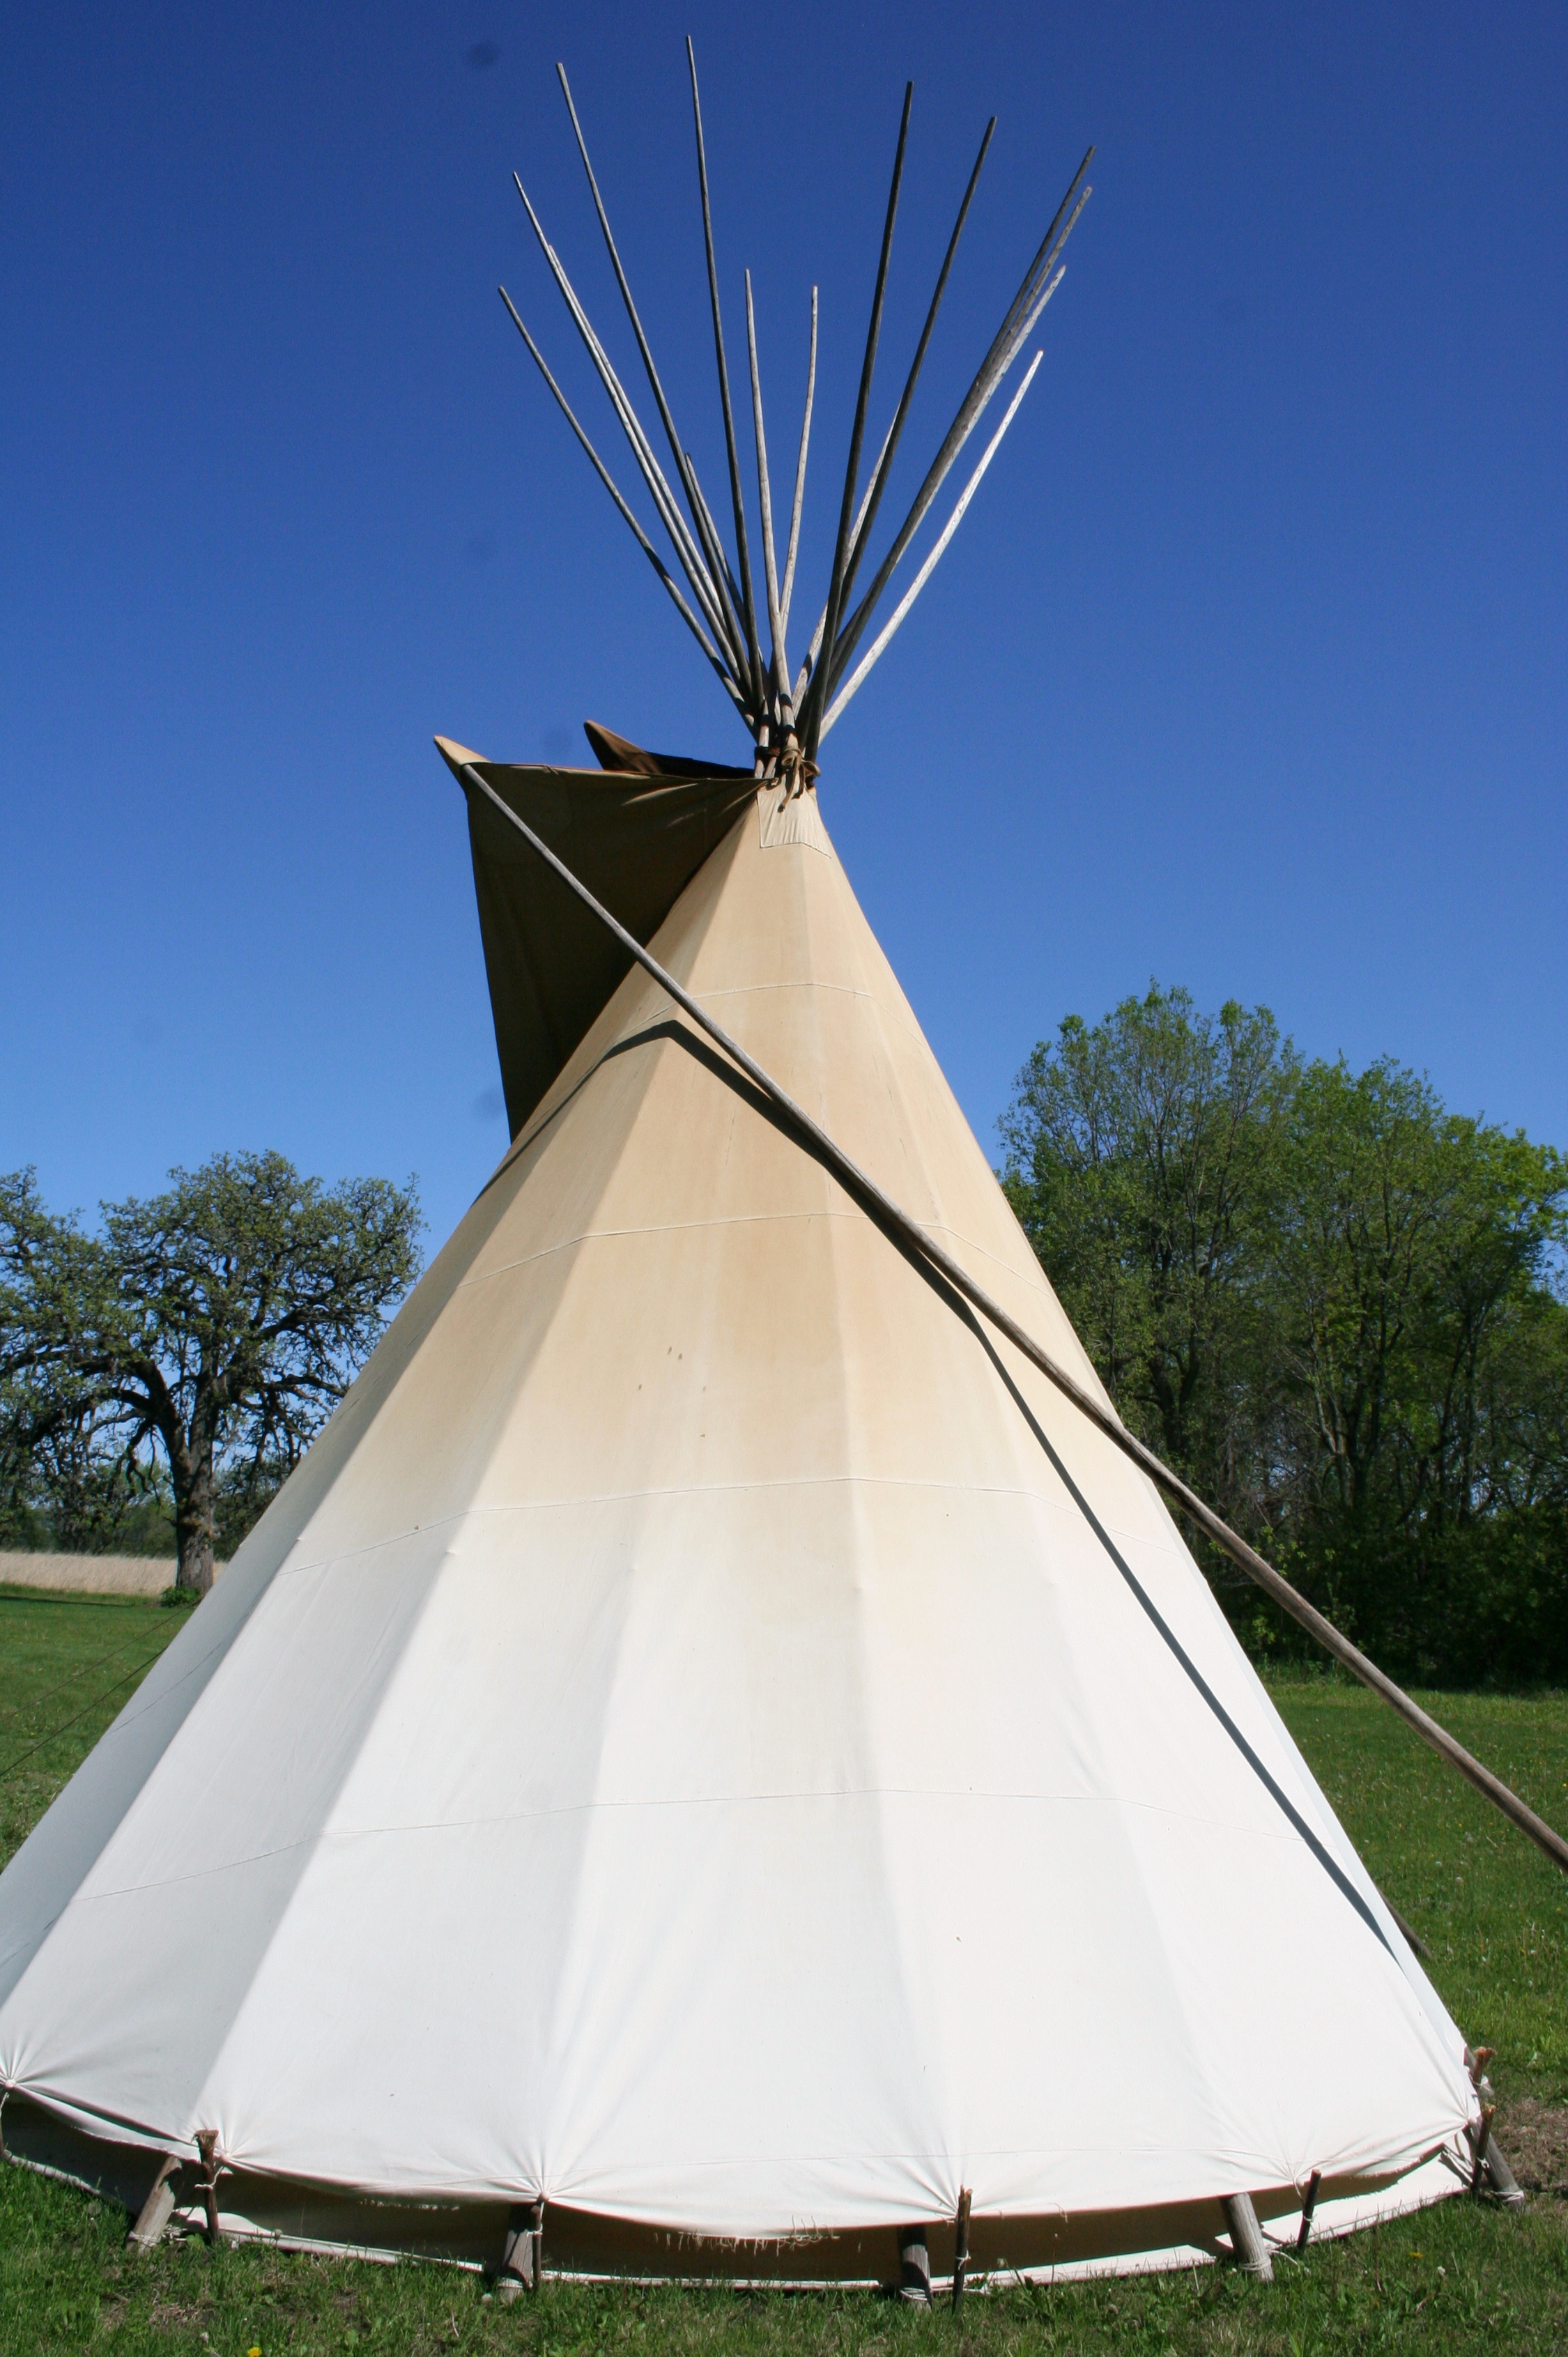
A tipi is a structure, no matter how you spell tipi-tepee-teepees-etc, that is a conical portable nomadic structure with two adjustable smoke flaps, multiple poles, and a detachable cover over the structure. The cover historically used buffalo skins; an optional skin/cloth lining; and a canvas or skin door. There may also be an optional partial ceiling. This was called an ozan; however, it is now found that the word ozan refers to the liner.[citation needed]

Photograph of Crow lodge interior, 1907, showing the poles and outer skin at the top, the inner lining and bedding. The lashing rope is tied off to a wooden stake at the bottom of the photograph. Clothing is suspended on a line tied between two of the tipi poles
Ropes and pegs are required to bind the poles, close the cover, attach the lining and door, and anchor the resulting structure to the ground. Tipis are distinguished from other tents by two crucial innovations: the opening at the top and the smoke flaps, which allow the dweller to cook and heat themselves with an open fire, and the lining that is primarily used in the winter, which insulates while providing a source of fresh air to fire and dwellers. Tipis are designed to be easily set up to allow camps to be moved to follow game migrations, especially the bison. The long poles could be used to construct a dog- or later horse-pulled travois.
Tipi covers are made by sewing together strips of canvas or hide and cutting out a semicircular shape from the resulting surface. Trimming this shape yields a door and the smoke flaps that allow the dwellers to control the chimney effect to expel smoke from their fires. Old style traditional linings were hides, blankets, and rectangular pieces of cloth hanging about four to five feet above the ground tied to the poles or a rope. Today's modern lining is the most difficult element to measure, since it consists of trapezoid-shaped strips of canvas assembled to form the shape of a truncated cone. The poles, made of peeled, polished and dried tapering saplings, are cut to measure about six feet more than the radius of the cover.
Decoration[]
Examples of painted tipi covers. From Paul Goble’s book, Tipi: Home of the Nomadic Buffalo Hunters, World Wisdom, 2007.
Most tipis in a village would not be painted. Painted tipis were mainly painted in accordance with traditional tribal battles and often featured geometric portrayals of celestial bodies and animal designs. Sometimes tipis were painted to depict personal experiences, such as war or hunting. In the case of a dream or vision quest, "ceremonies and prayers were first offered, and then the dreamer recounted his dream to the priests and wise men of the community... Those known to be skilled painters were consulted, and the new design was made to fit anonymously within the traditional framework of [the tribe's] painted tipis."[1]
Many tipis (Cheyenne, Sioux, Arapaho, Kiowa, and a few others) were decorated with pendants and colored medallions. Traditionally these were embroidered with dyed porcupine quills; more modern versions are often beaded. Buffalo horns and tails, tufts of buffalo and horse hair, bear claws and buckskin [disambiguation needed] fringe were also used to decorate tipi covers. These are examples of tipis made by the indian people.
Construction[]

Tipis painted by George Catlin who visited a number of tribes in the 1830s and recorded Native American daily life
The construction of a tipi starts with tying together three of the poles at the skin's radius from their bases using a tripod lashing. One end of this lashing rope is left dangling from the tie-point, long enough to reach the base of the poles. These tripod poles are stood upright, with their unfastened ends spaced apart on the ground to form a triangle, each pole's base the skin's radius from its neighbors. A dozen more long poles are laid onto the three primary poles. Their upper ends rest on the lashing of the first three, and the lower ends are evenly spaced to form a circle on the ground which includes the original three poles. The lashing rope is then walked around the whole structure three times and pulled tight. This ties the placed poles to the tripod at the crown of the tipi. The canvas skin is tied to another pole, lifted up and the top of the pole is rested where all the poles meet. The skin is pulled around the pole framework. The overlap seam is closed with wooden lacing pins which are thin sticks about 10 inches long with one or both ends tapered. Sometimes a door is attached to one of the bottom lacing pins. In old tipis of hide or early cloth, the door was where the two sides came together in the front. A blanket, hide or cloth door was put over the opening to secure the entrance.
The base of the skin is pegged to the ground. Traditionally pegs were placed in slits at the bottom of the cover. As canvas or cloth came into use loops were sewn into the bottom or, in an emergency smooth pebbles were pushed into the cloth and a cord tied between the bulge of cloth and a wooden peg in the ground. A gap can be allowed at ground level for airflow in warm seasons and the base is completely closed to the ground in cooler times. The bases of the non-tripod poles are moved in or out to tension the skin. Inside the tipi, a cord is wrapped from pole to pole above head height. An inner lining can be suspended from this cord and pushed back on the ground near the inside base of the poles. Bedding and personal items are pushed against the liner to keep it in place. The inner lining acts as a heat insulator and draft and pest excluder. An interior awning which prevents rain drops hitting bedding can be suspended at the top of the lining.
Use[]

Tipi at a living history rendezvous
A small fire can be set in the center of the floor of the tipi for heat or cooking. The smoke exits the top of the tipi which is guarded by two adjustable smoke flaps set at right angles to the wind to prevent a downdraft. A draft rising between the cover and the lining adds to the chimney effect and helps carry the smoke up and out. The liner does add insulation in very cold weather when stuffed with grass and can direct the draft upwards and away from the occupants while still admitting fresh air. Air for combustion can be ducted to the fire through a buried pipe when the tipi is closed tightly against inclement weather.
In most weather the lining may not be used, and the cover can be rolled up on very hot days a few feet on one or two sides allowing any small breeze to create ventilation.
this structure requires a hole in the middle of the roof may not be the best shelter in times of intense rain, but there are strategies to reduce the problem. A hide or fabric ceiling can protect against dripping precipitation and reduce drafts. This ceiling, when used, typically only covers the back half of the tipi and is slanted slightly upwards to the front, draining water to the rear and allowing smoke from the fire to vent out of the top of the tipi. Small sticks between the lining rope and the poles can create a gap for rainwater running down the poles to reach the ground without being caught by and dripping off the lining rope. Contemporary tipi dwellers may tie a bucket beneath the crown, or install rubber barriers on the poles and a canvas rain catcher which drains from the crown to the outside, to collect rain dripping off the crown of the poles. A fabric or hide rain cap can be placed over the top of the tipi if the poles are not too long but can cause damage in high winds. Historically these types of coverings were not used.
In strong winds the lashing rope is pegged to the ground behind the fire. This helps to keep the tipi poles from “walking”, lifting up under the force of the wind on the skin and coming down in a new position. In extreme winds the bases of the poles can be individually lashed to pegs. A tipi which is pegged and has had its lashing rope tied down is a remarkably wind-resistant cone.
See also[]


Tipis outside the Buffalo Bill Historical Center (Cody, Wyoming).
- Chum (tent)
- Goahti
- Hogan
- Humpy
- Igloo
- Kohte
- Lavvu
- List of human habitation forms
- Longhouse
- Plains hide painting
- Sibley tent
- Wigwam
- Wigwam Motel
- Yaranga
- Yurt
Notes[]
- ↑ Goble, Paul (2007). Tepee: Home of the Nomadic Buffalo Hunters. USA: World Wisdom Books. pp. 42. ISBN 193331639X.
External links[]
| Wikimedia Commons has media related to Tipis that may be added |
- History, construction, and evolution of tipis plus Photos and drawings
- Simply Differently.org: Tipi, tipi building resource, how-to manuals and online calculator for canvas lanes
- Tipi Instructions, a PDF document detailing the construction of a tipi.
See also[]
 |
This page is being imported from Wikipedia, to create a Wikidwelling stub or article. These steps need to be completed:
The original article was at Tipi. The list of authors can be seen in the history for that page. The text of Wikipedia is available under the CC-BY-SA 3.0 license. |